PART 1 : INSTALLING ESXI ON VMWARE WORKSTATION HOME LAB
PART 2 : CONFIGURING ESXI ON VMWARE WORKSTATION HOME LAB
PART 3 : ACCESSING STANDALONE ESXI SERVER IN HOME LAB USING VSPHERE CLIENT
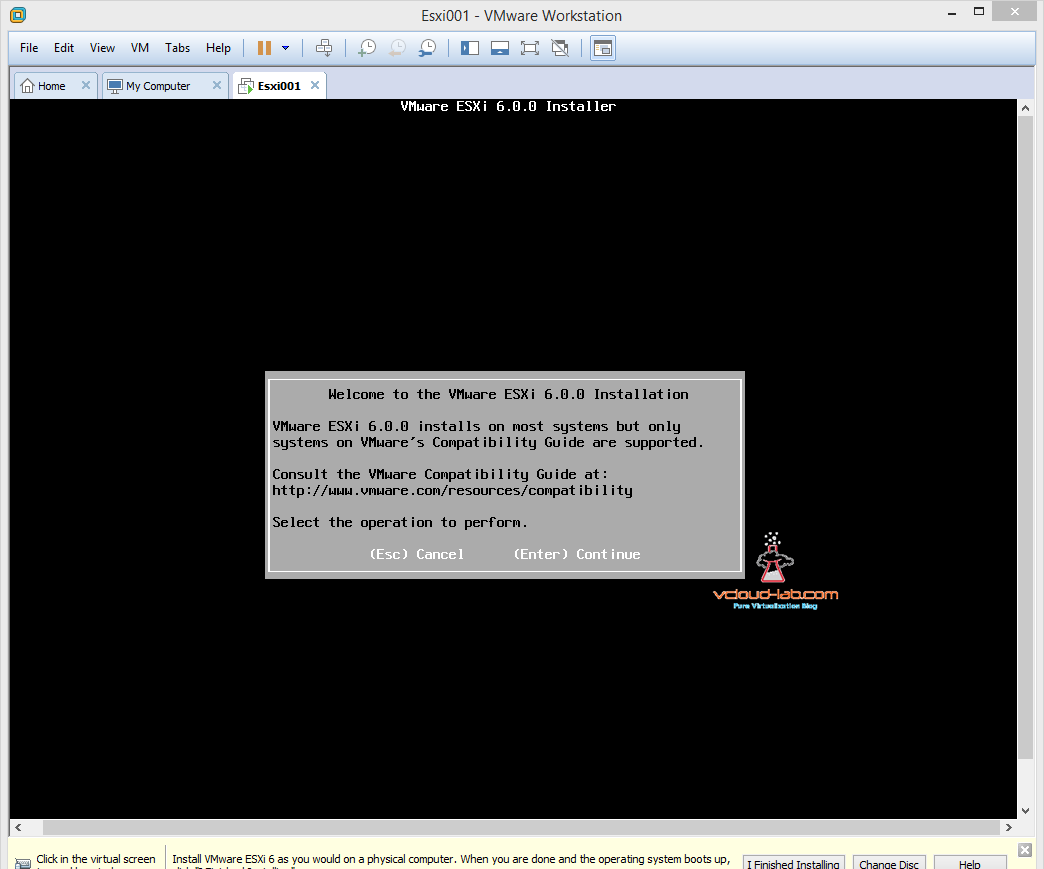
After purchasing my new computer hardware for VMware, Windows, Hyper-V labs, I wrote 7 Articles on setting up home lab. In my last article Part 7 I created VMWare Workstation ESXi VM, Downloaded and attached ESXi ISO file in VM. Now in this article I will be taking over and showing ESXi Installation. Once you power on VM Installation will automatically kick in (It will automatically boot into attached ISO file for the first time if it doesn't find anything bootable on the hard disk). As this virtual machine's hardware is fully compatible for ESXi 6 with 2 Processor and 4 GB Memory there is no problem about compatibility but don't try this for your productions. (This is one of the prerequisite and minimum required resources for ESXi installation). Press Enter to continue. Just note this is an interactive Esxi installation.
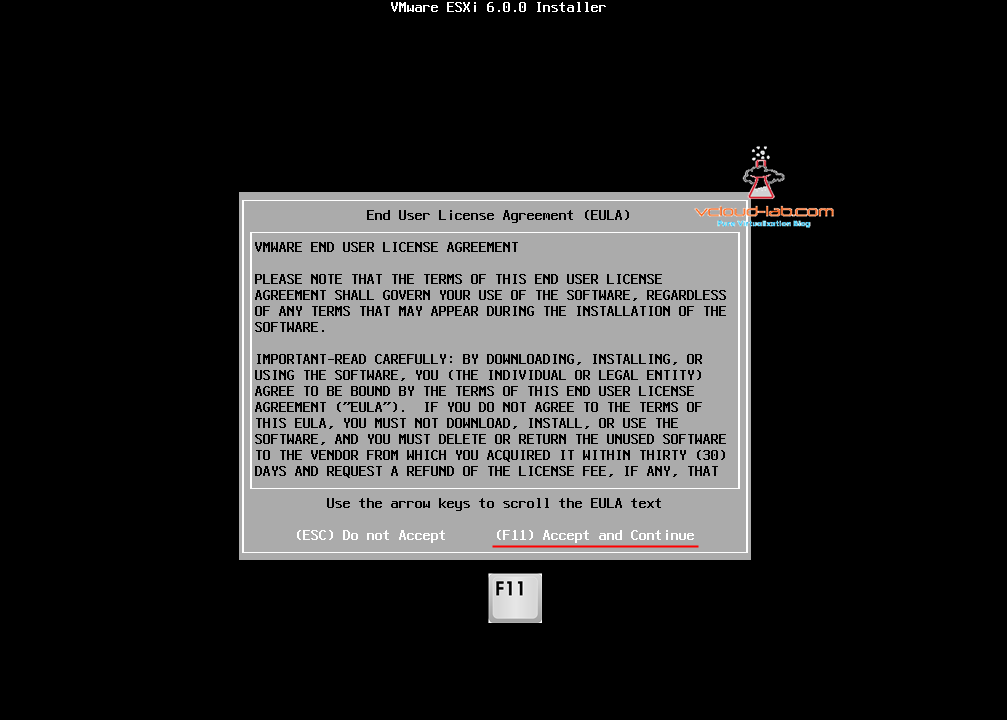
Next screenshot is about accepting EULA, press f11 to accept.
There are 2 types of disks Esxi can detect. Local and Remote. Local are locally attached disk or USB drive (SD card). It is even possible to install ESXi os on USB due to is small thumbprint installation size , If you insert compatible USB disk devices (8 GB is best fit for installation) you will see it under Local disk. Remote disk are presented by SAN (Fiber Channel or iSCSI), In my case I only have one 40 GB hard disk drive as you can see in screenshot. Select Disk and press enter.

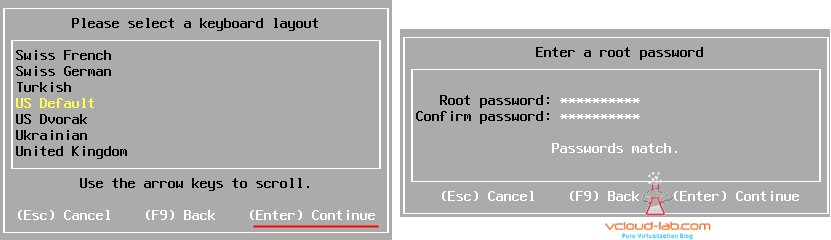
Next screens are self explanatory, Select language of your choice (by default US English) and the root password, remember this password, it will be required once installation is done for logging.
Caution here Make sure you don't have any data on the Disk as it will erase it and install VMFS partition. if you have earlier version of OS ESXi 5.5, You will get option to upgrade ESXi or preserve VMFS partitions. In my case I can go ahead and press enter.

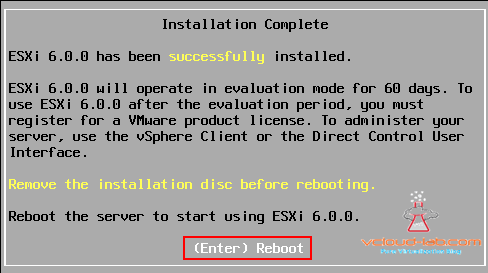
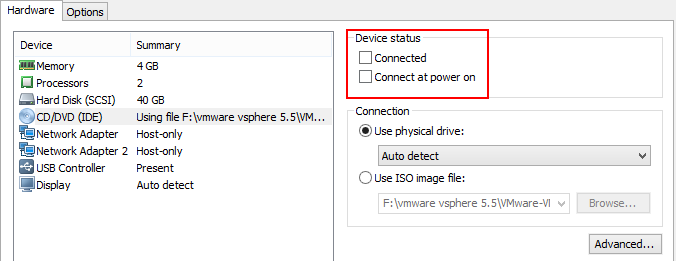
Once the installation is completed hit enter, disable virtual CD/DVD in the VMs settings installation from ESXi ISO won't be kicked in accidently.
|
|
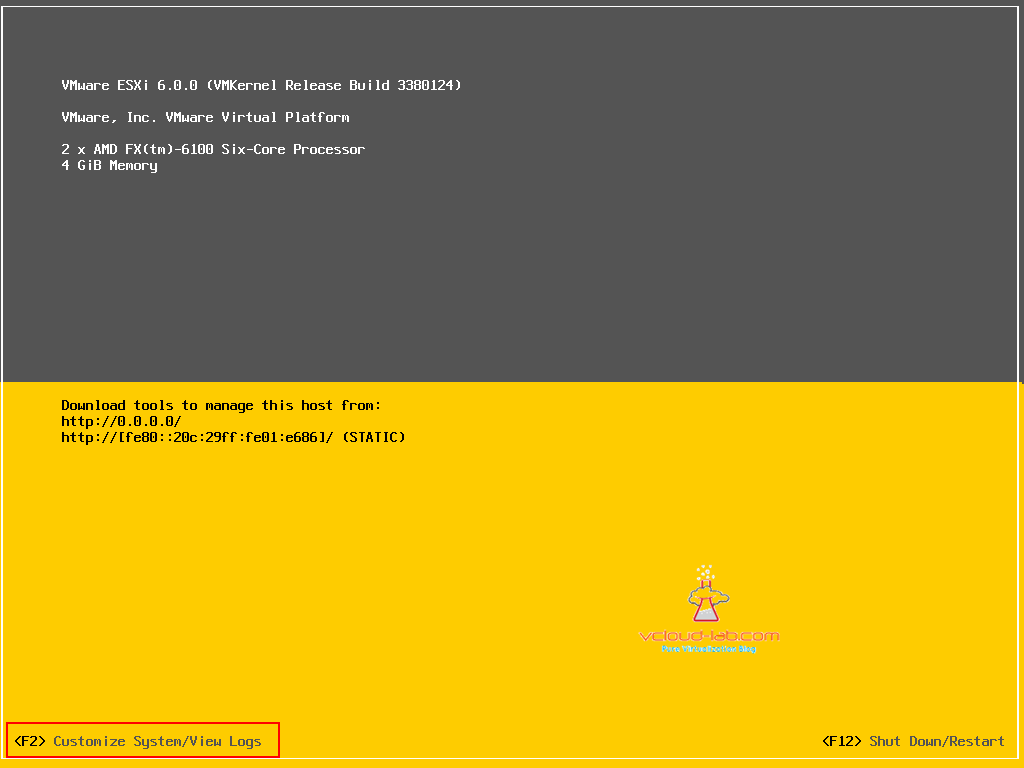
Once the VM is restarted what you will see lightweight ESXi console called DCUI (Direct console user interface), Next thing is to configuration of Esxi server. I need to configure only networking right now so I can talk to it on network. As you can see i don't have DHCP server on the network and no IP address is assigned. Network configuration will be in next article.
Another useful blogs
INSTALLING AND CONFIGURING ESXI EMBEDDED WEB CLIENT
